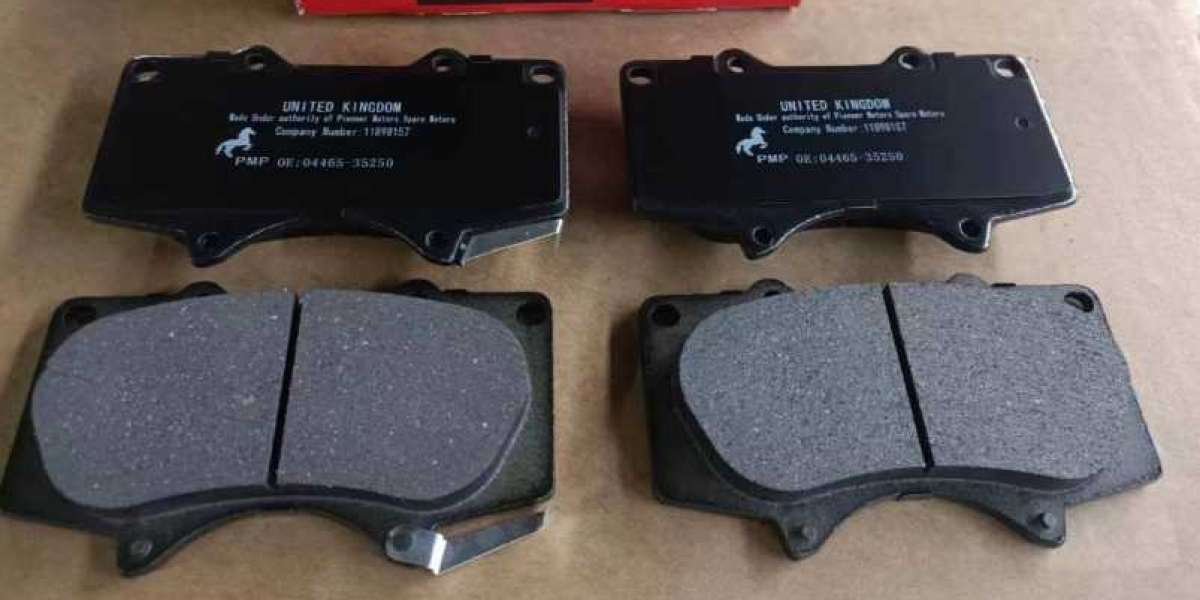
As a Hyundai owner, you know the importance of regular maintenance to keep your vehicle running smoothly. One of the most critical components of your car's safety system is the brake pads. Over time, the brake pads wear down and need to be replaced to ensure proper braking performance. If you're a DIY enthusiast looking to save money on maintenance, replacing your Hyundai's brake pads at home can be a satisfying and cost-effective project. In this step-by-step guide, we'll show you how to replace Hyundai brake pads at home.
Gather the necessary tools and supplies
Before you begin, make sure you have all the necessary tools and supplies. You will need a jack, jack stands, lug wrench, socket wrench, brake grease, and new brake pads. Consult your Hyundai owner's manual to determine the correct brake pad size for your vehicle.
Prepare your vehicle
Park your Hyundai on a level surface and engage the parking brake. Loosen the lug nuts on the wheel with the brake pads you'll be replacing, but do not remove them yet.
Lift the vehicle
Using the jack, lift the vehicle at the designated lifting points specified in your owner's manual. Place jack stands under the vehicle for support, and lower the jack to rest the car on the jack stands. Ensure that the vehicle is stable and secure before continuing.
Remove the old brake pads
Remove the lug nuts and take off the wheel. Locate the brake caliper and remove the bolts securing it to the brake bracket. Slide the caliper off the rotor and hang it from the suspension using a bungee cord or wire hanger. Remove the old brake pads from the caliper by sliding them out.
Install the new brake pads
Apply a thin layer of brake grease to the back of the new brake pads where they contact the caliper. Install the new brake pads into the caliper, ensuring that they fit snugly. Slide the caliper back onto the rotor and secure it in place with the bolts.
Replace the wheel and test the brakes
Remount the wheel and tighten the lug nuts. Repeat steps 3-6 for each wheel with worn brake pads. Once you've replaced all the brake pads, test the brakes before driving the vehicle. Pump the brakes several times to ensure that they are functioning correctly.
Lower the vehicle
Use the jack to lift the car slightly and remove the jack stands. Lower the car to the ground and tighten the lug nuts in a star pattern. Check the lug nuts' torque with a torque wrench to ensure they are tightened to the correct specifications.
Repeat the process
Replacing brake pads is an essential part of vehicle maintenance, and it should be done periodically. The frequency of replacement varies depending on driving habits and conditions, so consult your owner's manual for recommendations. Keep track of the brake pad replacement schedule to maintain your car's braking performance.
In conclusion, replacing Hyundai brake pads at home is a manageable DIY project that can save you money on maintenance costs. By following the steps outlined in this guide and using the proper tools and supplies, you can replace the brake pads safely and effectively. Remember to consult your owner's manual for specific instructions and recommendations, and always test your brakes before driving your vehicle. Happy wrenching!


