When it comes to remodeling your home, there’s one thing you can’t overlook: the mess! And let’s face it, remodeling can be as chaotic as a toddler’s birthday party—fun, but messy! So, what’s the best way to handle all that debris? Enter Greenback Dumpsters! But what exactly are they, and why should you consider one for your next big project? Let’s dive into the green abyss of dumpster rentals!
Why Choose Greenback Dumpsters?
1. Eco-Friendly Options
Did you know that Greenback Dumpsters prioritize recycling? Instead of just tossing everything into a landfill, they make an effort to sort through your waste. It’s like having a personal assistant for your junk—only this one wears a green cape!
2. Convenience at Your Fingertips
Imagine this: You’re in the middle of a renovation, and you realize you have no idea where to put that old cabinet. Sounds familiar? With Greenback Dumpsters, you can rent a dumpster in a snap! It’s like ordering a pizza, but instead of pepperoni, you get a big ol' bin to toss your debris into.
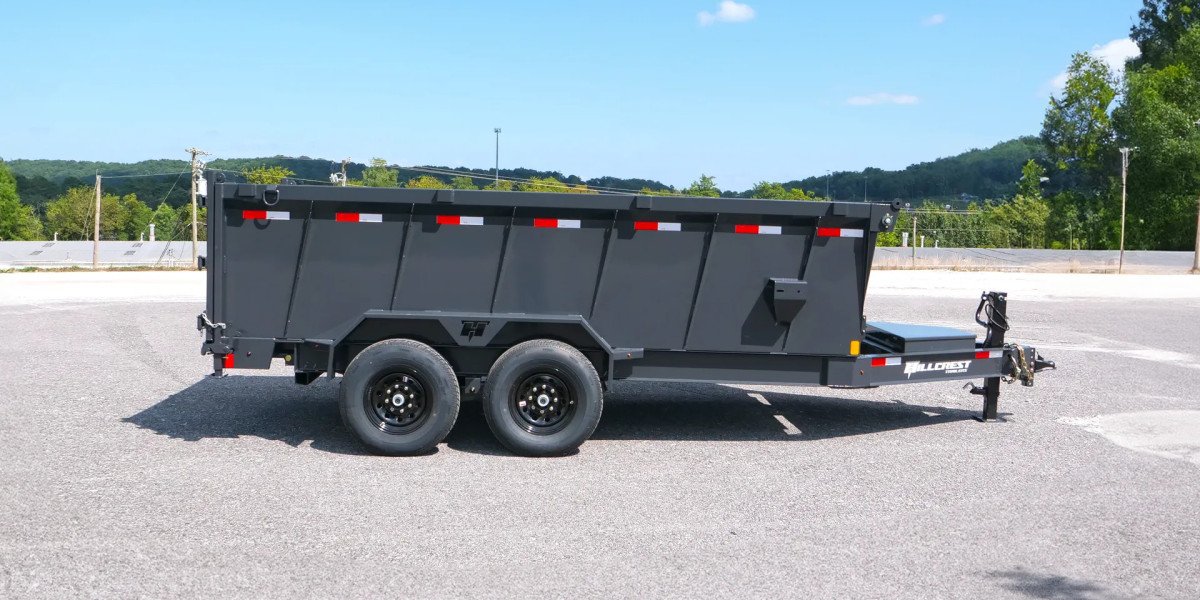
3. Different Sizes for Different Needs
Not all remodels are created equal, and neither are dumpsters! Whether you’re doing a minor bathroom update or a full kitchen overhaul, Greenback Dumpsters has sizes that fit your needs like a glove. It’s like Goldilocks and the Three Bears—one is too small, one is too big, and one is just right!
How to Rent a Greenback Dumpster
Step 1: Determine Your Needs
Before you call up the dumpster fairy, take a moment to assess your project. How much stuff will you need to toss? This will help you choose the right size.
Step 2: Get a Quote
Once you know what you need, reach out for a quote. Don’t be shy! It’s as easy as asking your neighbor for a cup of sugar, except you’re asking for a big metal bin instead.
Step 3: Schedule Delivery
After you’ve settled on a size and price, schedule your delivery. It’s like setting a date for a coffee date, but instead, it’s a date with your dumpster!
Step 4: Fill ‘Er Up!
Now the fun begins! Start tossing all that old junk into your Greenback Dumpster. Just think of it as decluttering your life—every piece of debris is one step closer to your dream home!
Step 5: Schedule Pickup
Once your dumpster is full and your remodel is complete, give them a call for pickup. It’s like saying goodbye to an old friend, but this one won’t haunt you with memories of clutter!
What Can You Put in Your Greenback Dumpster?
Acceptable Items:
Old furniture (goodbye, rickety chair!)
Construction debris (hello, fresh new kitchen!)
Yard waste (because even your garden deserves a makeover)
Unacceptable Items:
Hazardous materials (no one wants a dumpster full of chemicals, yikes!)
Electronics (don’t throw that old TV in there—recycle it!)
Appliances (unless specified, check with your provider)
Tips for a Successful Dumpster Rental Experience
1. Plan Ahead
Don’t wait until the last minute! Planning is key. It’s like trying to cook a gourmet meal without a recipe—you might end up with a disaster!
2. Maximize Space
When filling your dumpster, think strategically. Break down furniture and stack items to make the most of your space. It’s a game of Tetris, but with junk!
3. Stay Safe
Always remember safety first! Use gloves and make sure not to overload your dumpster. A safe remodel is a happy remodel!
Final Thoughts
In conclusion, if you’re embarking on a remodeling journey, don’t forget about the importance of a good dumpster! Greenback Dumpsters offer an eco-friendly, convenient, and efficient solution to all your waste disposal needs. So, why not give them a try? You might just find that having a dumpster on-site makes your remodel as smooth as butter!